Saturday, December 10, 2022

The 12 Days of Christmas Cookies - Day Four - Chocolate-Butterscotch Bars

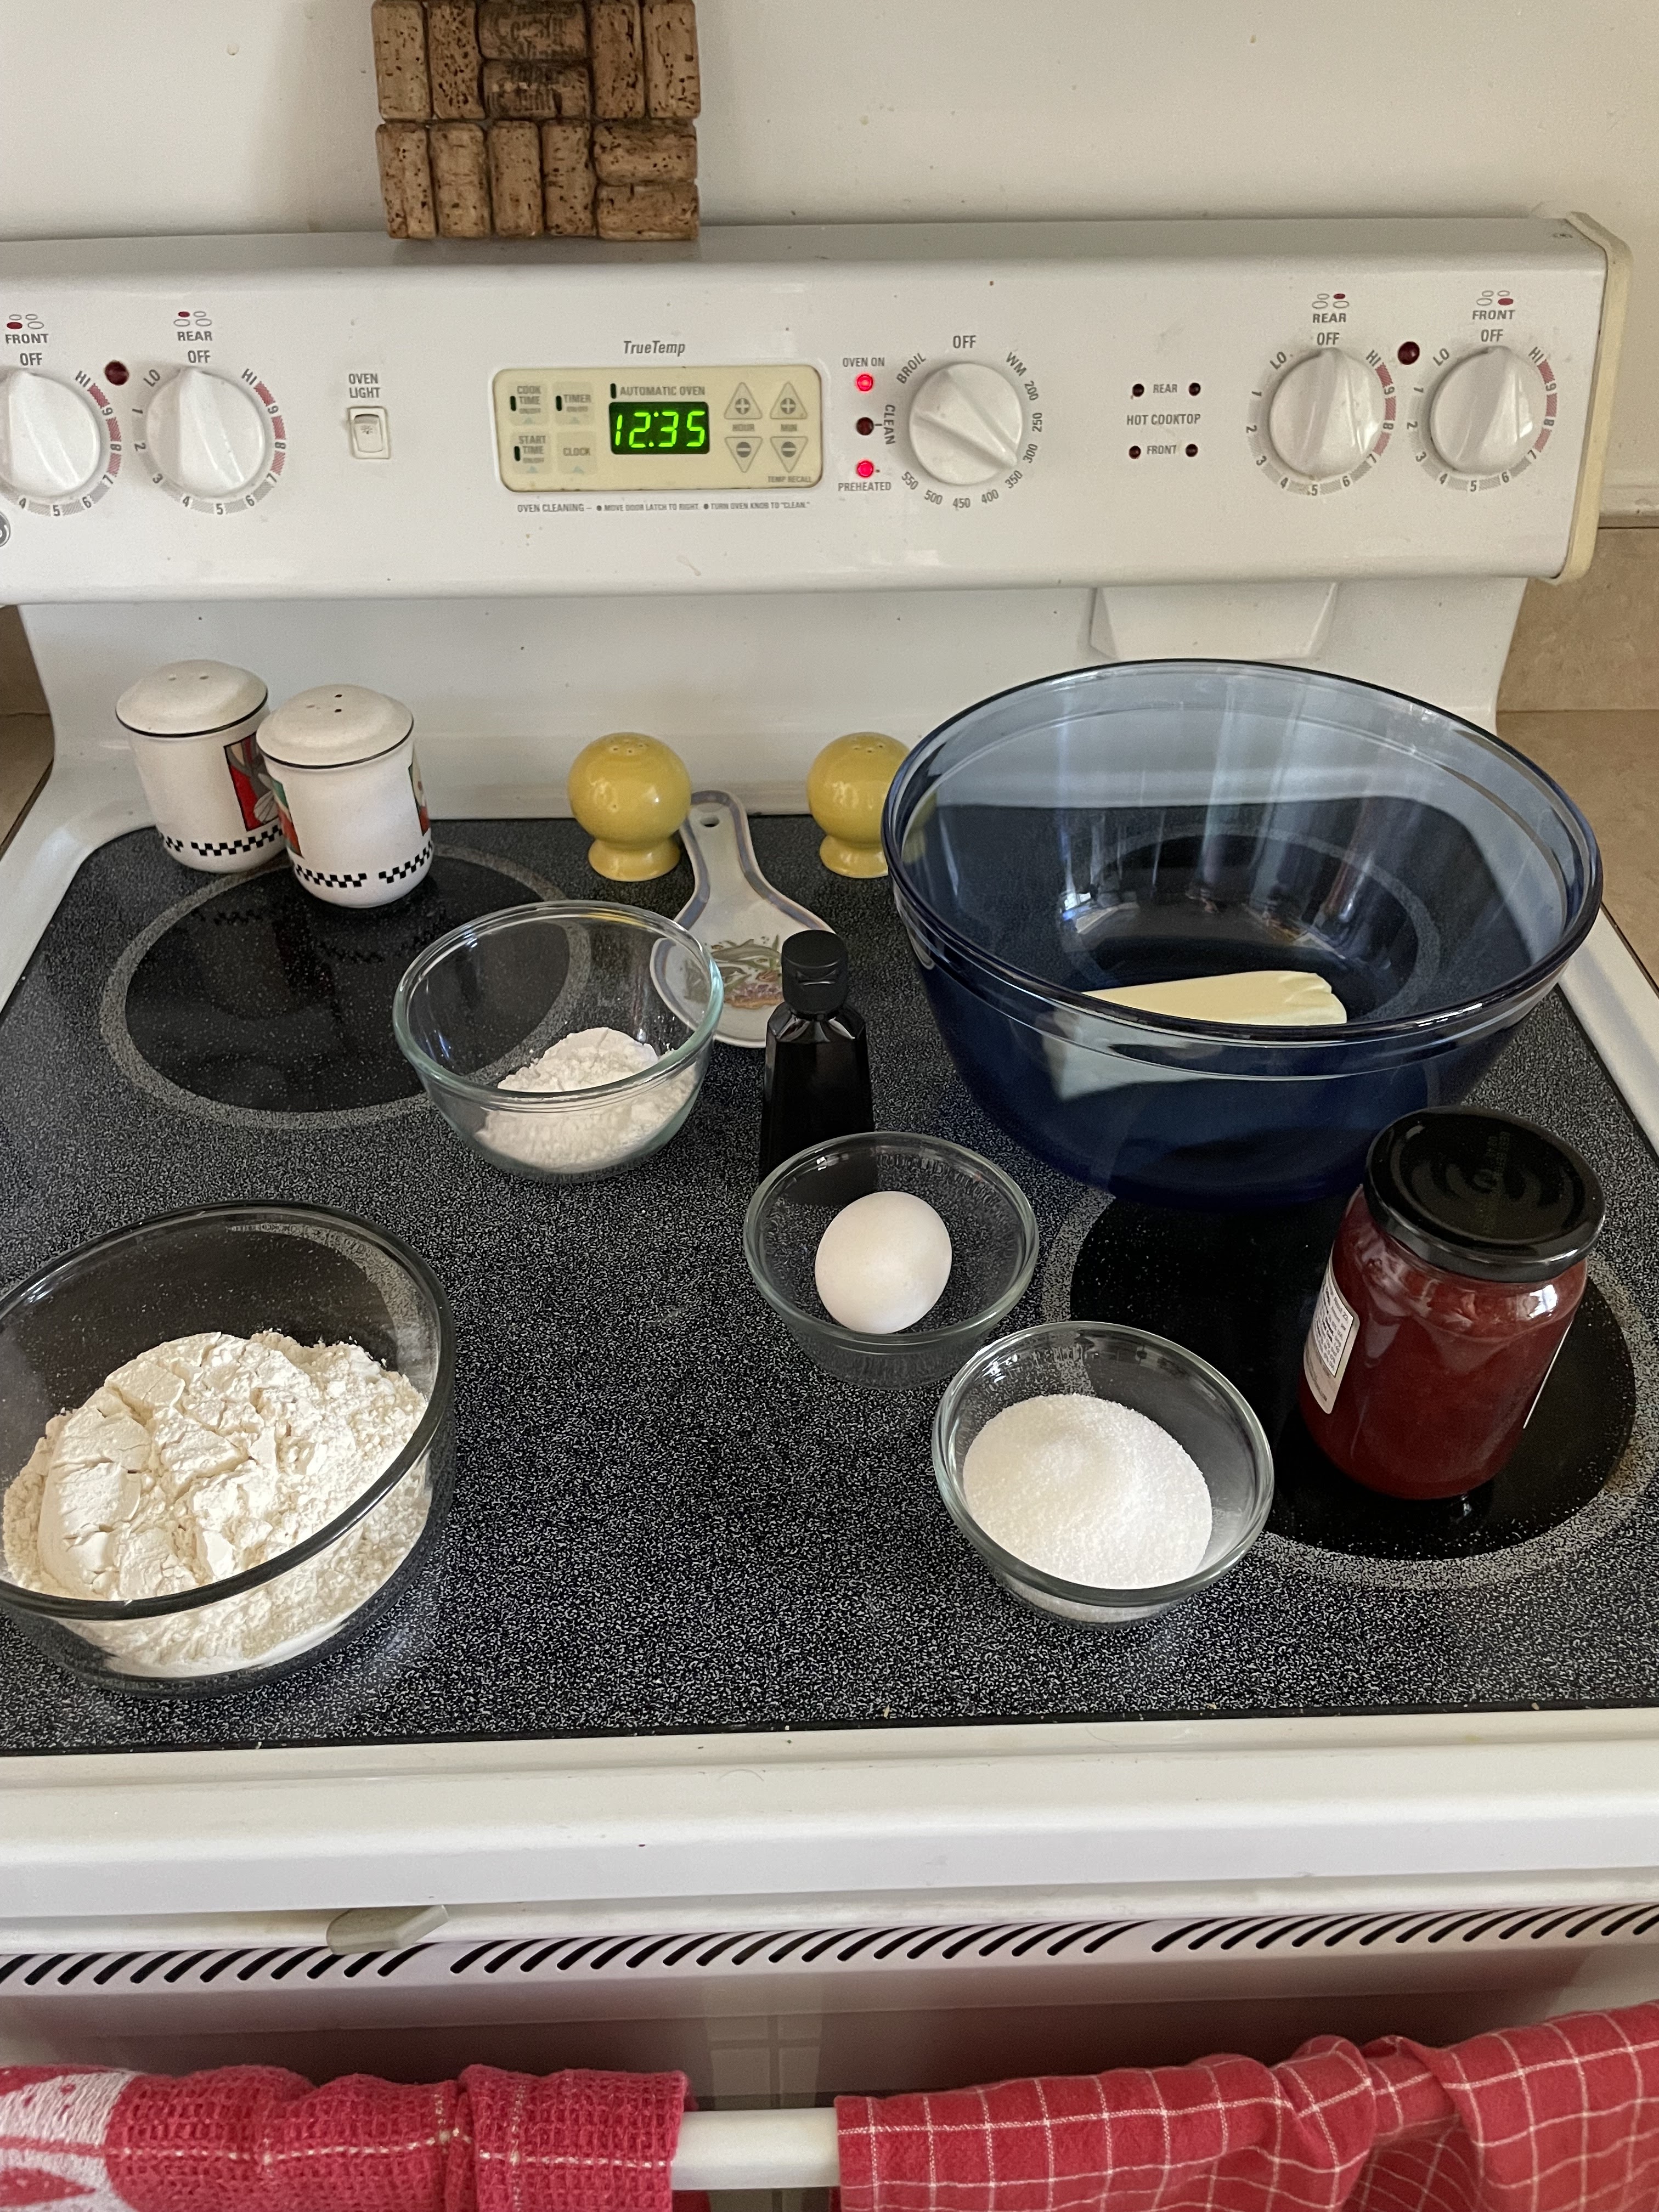
 These are one of the easiest cookies to make because they mix and bake in the same pan.  Everything you need to make them is pictured here:


On the left is a 13 x 9 inch glass baking dish.  Inside is a stick of butter.  Next to it is 1 cup of chocolate chips, 1 cup of butterscotch chips, 1 1/3 cups shredded sweetened coconut, 1 cup of graham cracker crumbs, 1/2 cup of chopped nuts (I'm using walnuts but any nut will work) and 1 can of sweetened condensed milk.  Make sure it's not evaporated milk.  

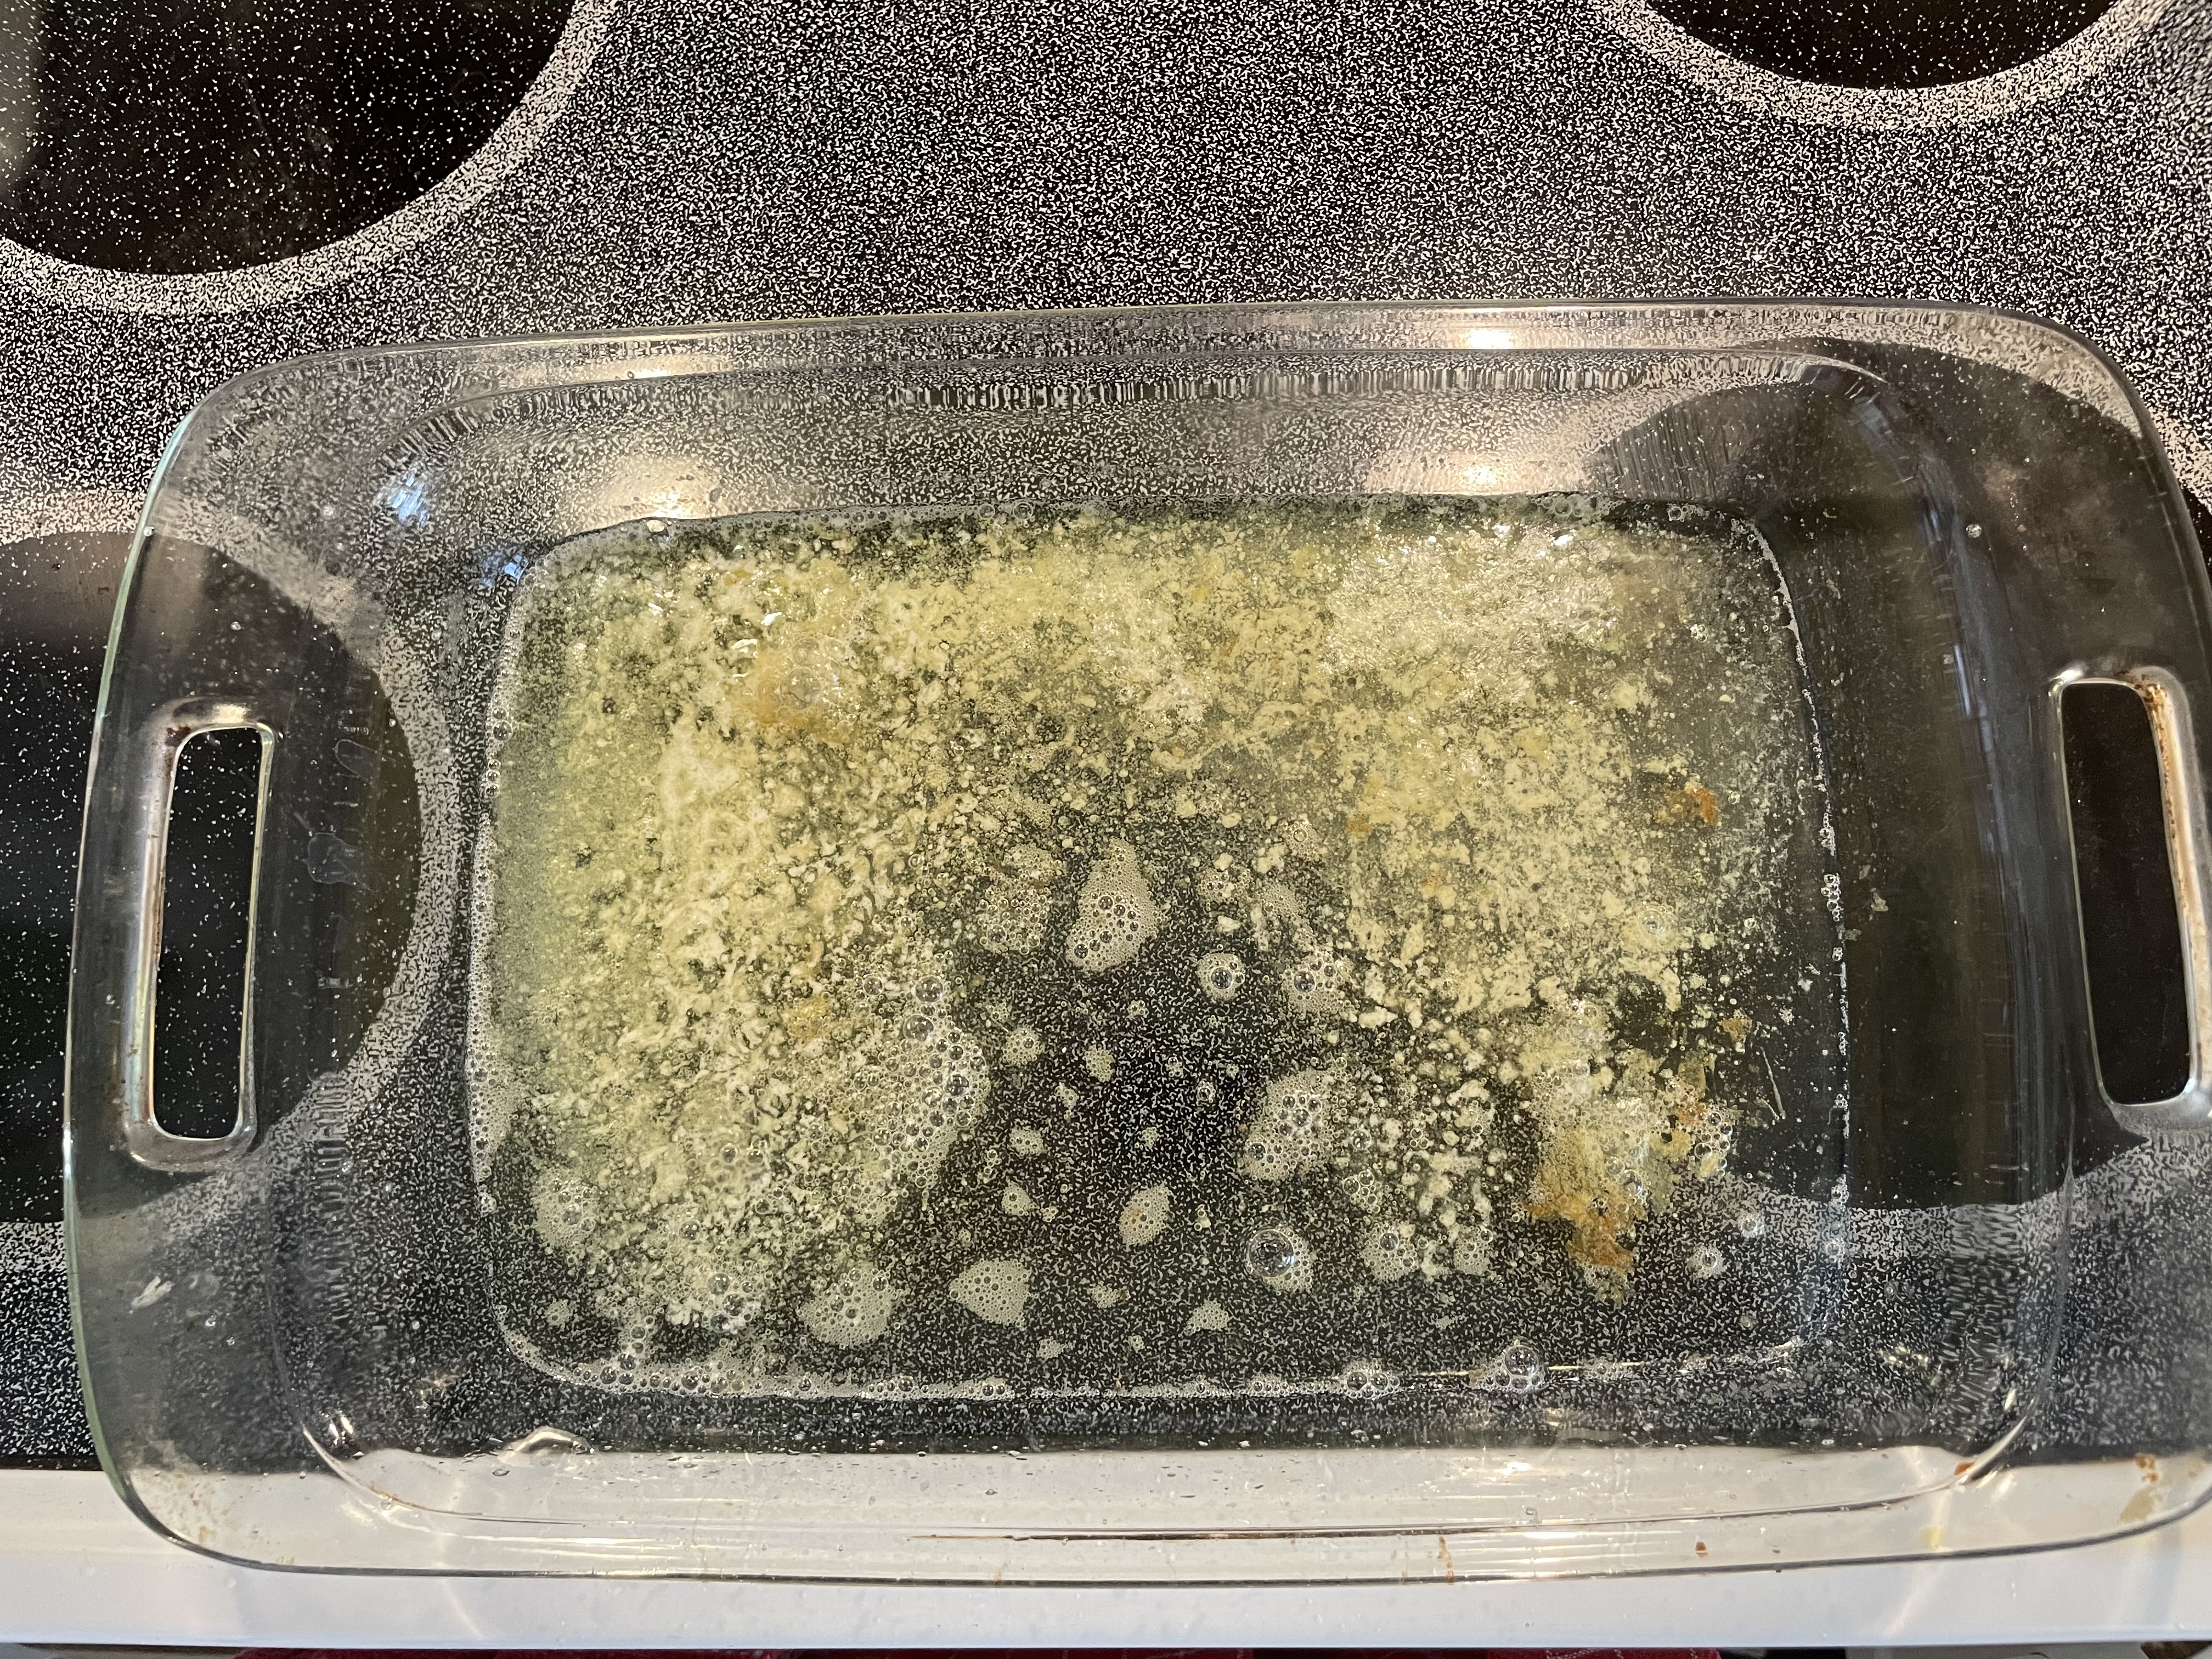
Place the butter in the baking dish and place in the oven.  Set to 350º and allow the butter to melt while the oven heats.  Once the butter is completely melted remove from oven.


Sprinkle the graham cracker crumbs into the melted butter.  If necessary, smooth out with a rubber spatula.


Sprinkle the chocolate chips on top of the graham cracker crumbs.


Sprinkle the butterscotch chips next.


Follow with the chopped nuts.


Sprinkle the coconut on top, covering as much of the chips and nuts as you can.


Pour the sweetened condensed milk over the entire surface.  Do not heat the can to make it pour faster.  Just let it pour at room temperature and work your way from one end to the other and then from side to side.  It does not have to completely cover the entire surface.


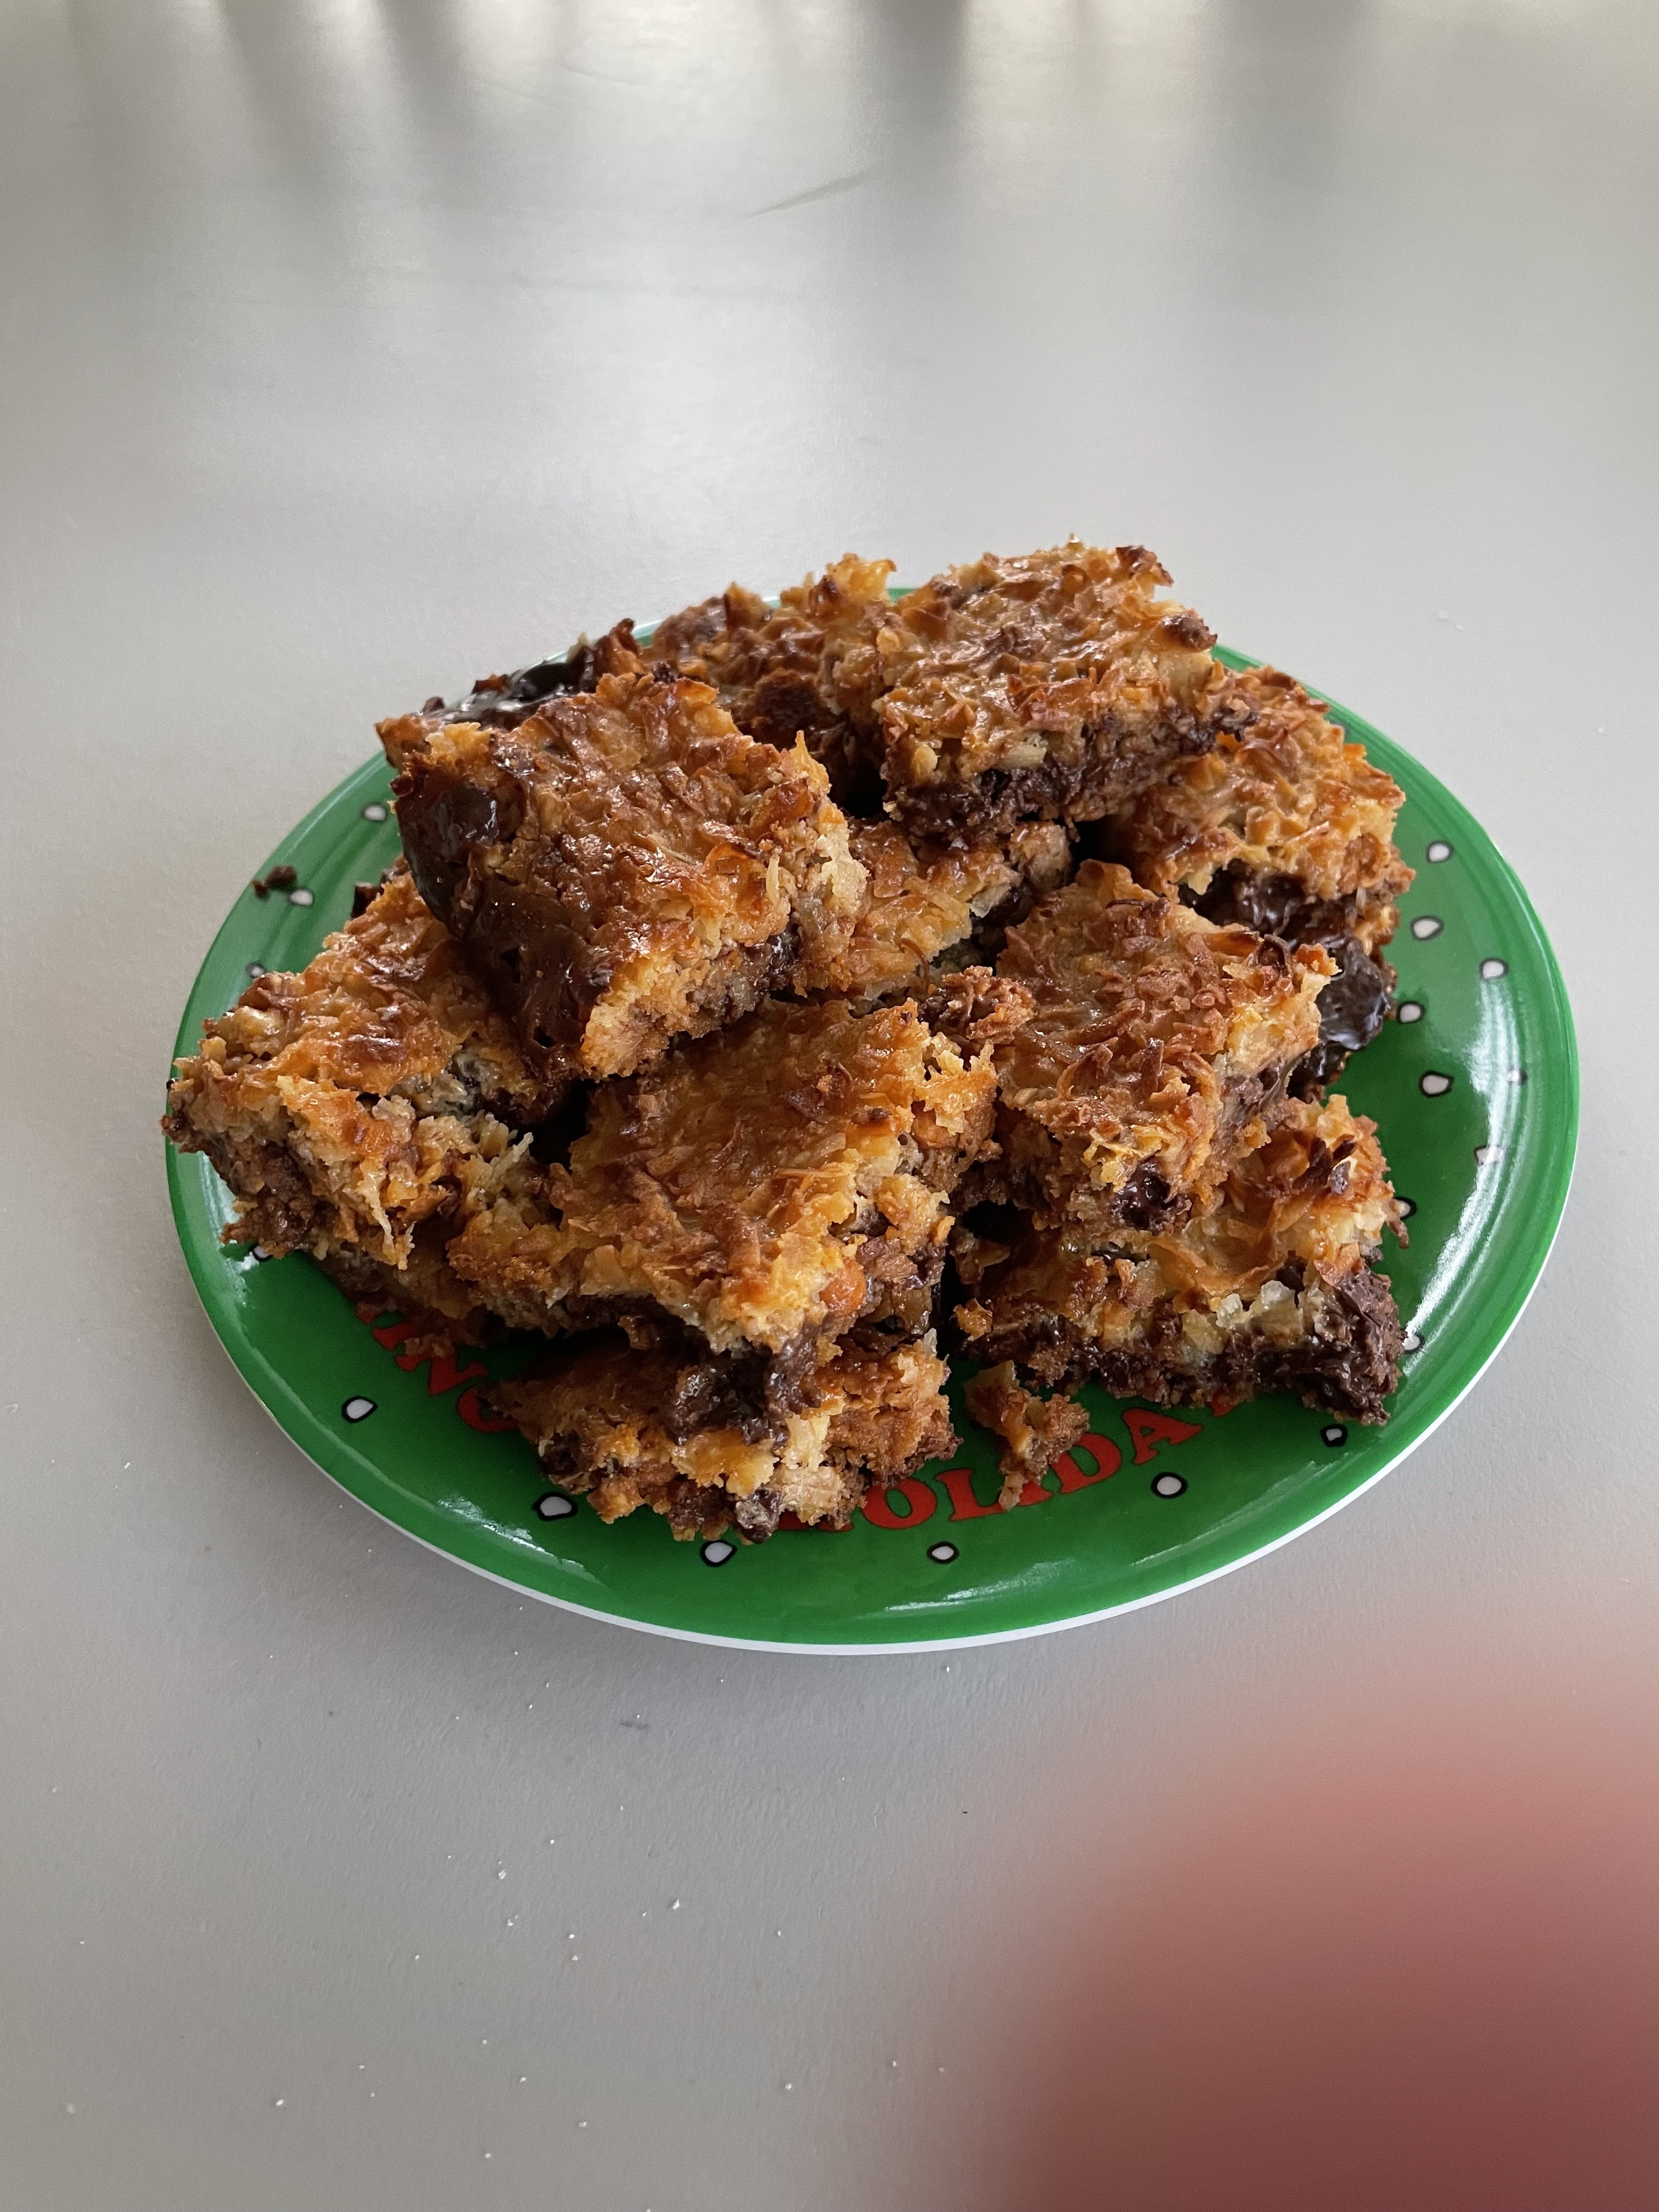
Bake at 350º for 30 minutes.  Remove from oven and it will look like this:


Place the pan on a wire rack and let cool for five minutes.  Then use a rubber spatula around the edges to pull them away from the pan.  Let cool completely before cutting into 24 pieces.


The 12 Days of Christmas Cookies - Day Three - Jelly Thumbprints


Thumbprint cookies are fairly easy to make.  Their ingredients are simple, and any competent baker will have everything already on hand.  In the photo above, from the lower left and going clockwise we have 1 1/4 cups flour, 1/3 cup powdered sugar, vanilla extract (1 tsp, not the whole bottle), 1 stick of butter at room temperature, one large egg, a jar of strawberry preserves (you can use any kind of jelly or preserves that you like) and 1/3 cup granulated sugar.

I like this particular recipe because it's done entirely by hand.  Start by mixing the butter with the powdered sugar.


Add the vanilla and egg and mix together.


Add the flour and mix until blended.


This recipe will make 48 cookies.  You can measure them out by the spoonful, or divide the dough in half and make each into 12 balls.  The dough will be a bit sticky.  Roll the balls in between your palms, then roll in white sugar (not powdered sugar).

After rolling them in sugar, roll them between your palms again (they will have lost their roundness in the rolling).  Then place them two inches apart on a baking sheet.  I use a silicon baking pad on my cookie sheets.  


Dip the bottom of a glass in the sugar and lightly press the cookies down.


Using the handle of a wooden spoon or your fingers, make an indentation in the dough.


Here I made the indentations with a bottle cap.


Take a small amount of the jelly and mix it up.  This will make it easier to work with.


Drop small spoonfuls into the indentation in each cookie.


Bake at 325º for 15 minutes.  Let cool on the baking sheet for 5 minutes before transferring to wire rack to cool completely.

When cookies are completely cooled, dust with powdered sugar.


Sunday, May 21, 2017

Omelettes

Omelettes are one of the easiest things to make.  Essentially, they're just eggs, water and something in the middle.  For this example I'm using ham and cheese.

Whether you use two eggs or three is up to you.  I find that a three egg omelette is too much for me.  Whisk the eggs with about a tablespoon of water.  Do not use milk.  Milk changes the consistency and it won't work as well.  Water makes the egg mixture more supple and easier to work with and it won't change the flavor.

Melt a tablespoon of butter in the frying pan and have your egg mixture ready:


Pour in the egg mixture and let it cook for a few minutes over medium heat.  When the edges are done, use a spatula and pull the edges toward the center, allowing the uncooked liquid to flow to the edge of the pan.


Continue pulling the edges toward the center.  Here you can see the cooked portion bunching up in the center of the pan:


As the liquid flows to the edges of the pan it will also cook and in this way, the entire omelette will cook.  You might need to tip the pan to get the liquid to flow to the edge.  I couldn't take a picture of that because I ran out of hands.


When the omelette is cooked on the bottom, it's time to add whatever it is you want to put in it.  For this example I took a slice of ham and chopped it into small, bite sized pieces.  Beneath the ham is a slice of provolone cheese, torn into smaller pieces.  You can use just about anything for an omelette; bacon, sausage, mushrooms, onions, peppers and garlic are all good additions.  You can also add spices to the egg mixture.  I sometimes use garlic or sage.  Dill is good too.  Be adventurous and throw in a dash of basil or oregano and see what you think of the flavor. 

Notice in the picture that the filling ingredients are only on half of the omelette.  Put them on the half closest to the handle.  Then, while holding the handle with one hand, slide the spatula or turner (they're not the same thing -- look it up) under the other side and flip it up and over.


And it will look like this, only not quite so blurry.  I guess I shook the camera a little.  You can see some of the ham is coming out, which is fine.  I actually used more than I needed to, but it doesn't hurt anything.  Cook it on this side, then flip it and cook the other side.  You want the cheese to melt and the inside to completely cook.


And you wind up with a breakfast of ham and cheese omelette with toast and mango jam.  A perfect start to a Sunday morning.


Bon appétit!


Saturday, May 20, 2017

Crustless Spinach (and Chicken) Quiche


Throughout most of 2016 my friend Erik was living with me.  Erik is gluten intolerant, so I needed to find recipes that I could whip up in a hurry (I never have a lot of time to cook), that would taste good and that did not contain gluten.  This is one of my favorites.

I put "and Chicken" in parenthesis in the title because you can leave it out if you prefer this to be meat-less.  It can't be vegan because it contains eggs and milk but if you're a vegetarian who eats those, just omit the chicken.

For this recipe, I'll include the chicken, so start with two boneless, skinless breasts.  If you prefer dark meat, use thighs but increase to three. 


Cut them up into bite-sized pieces, like this:


Then toss them into a frying pan coated with either olive oil or cooking spray.  I prefer the spray for this.  When they're done, they'll look like this:


Whether you include the chicken or not, the following steps will be used.  Chop an onion (or use a cup of chopped onion) and sauté it in two or three tablespoons of olive oil.  Add to the onion one 10 ounce package of frozen, chopped spinach, thawed.  Cook the two together until the moisture is out of the spinach.


While the spinach is cooking, heat the oven to 350 degrees and assemble the rest of your ingredients, which are five eggs, three cups of shredded cheese and 1/4 cup of milk:


For the cheese, use any variety you like.  In the picture I used a Mexican blend.  I've also used others in the past, including Swiss and Cheddar.  Often, I prefer a blend of several cheeses because I like the way the flavors mix.  Or I use whatever is on sale.

The milk I use here is whole milk but half and half or cream will work just as well.

Mix the eggs and milk and add the spices.  I haven't mentioned these yet because I rarely use the same spices.  I recommend you start with no more than a teaspoon of each and decide if that's enough for you.  If not, the next time you make it, add more.  The spices I generally use are a combination of oregano, basil, sage and garlic powder.  I only used about a half teaspoon of garlic.  You can also use dill, marjoram and paprika.  Each one has a different flavor so it changes the finished product.  Experiment and decide which one or ones you like best.

Once the spices are mixed in, stir in the cheese and continue stirring until it's all incorporated.  Then add the onion/spinach and do the same.  Finally, if you're using chicken, add it now and blend it in with the rest.

Take a pie plate and spray it with cooking spray.  Be sure to spray all the way up the sides as well as on the bottom.

Just before putting it in the oven, it will look like this.


Cook at 350 degrees for 30 minutes.  When it's done, remove it from the oven and let it stand for 10 minutes before cutting into it.  This is what the finished product looks like:


My favorite way to eat it is with Frank's Hot Wing Sauce poured all over it.  

Bon appétit!

Tomato Bisque

Essentially, tomato bisque soup is just tomato soup made with milk.  To be a true bisque it needs to be both smooth and creamy.  Substituting milk for water when making tomato soup from a can is the easiest way of making tomato bisque.

This recipe is slightly more than that, but it's just as simple.  There are only a few ingredients:

1 10 3/4 ounce can tomato soup 
Whole milk
1 14 1/2 ounce can diced tomatoes
1 cup heavy cream
1 Tablespoon basil (or 1 teaspoon fresh basil, finely chopped)

Diced tomatoes are lumpy, so to start with, we need to make the soup smooth.  In a blender, combine the diced tomatoes with the tomato soup and the basil.  Fill the soup can with whole milk and add that.  Blend the entire thing until it's smooth.  I haven't tried doing this in a food processor but that would probably work as well.

It will look like this:


Very slowly stir in the cream and using a very low heat, bring it to a simmer.

You can garnish with fresh basil sprigs and/or a dollop of sour cream.  Croutons are also a nice addition.  I'll be serving it with grilled cheese sandwiches.

Bon appétit!


Monday, January 19, 2015

New England Fish Chowder

This is fish chowder, not a real clam chowder.  Still, it's hearty and delicious.  It takes a bit of time to make but it's worth it.

1 Tbsp olive oil
1 Tbsp butter
1 medium-large onion cut into chunks
8 oz. sliced mushrooms
1/2 cup dry white wine (I use non-alcoholic Fre brand wine)
4 medium carrots pealed and sliced thick
3 large sweet potatoes, peeled and cut into bite-sized pieces
8 oz. clam juice
1 6.5 oz can chopped clams in clam juice
1 cup chicken stock
1 bay leaf
1 tsp thyme
1/4 tsp black pepper
1/4 tsp paprika (or to taste)
dash of cayenne pepper (go easy)
1 1/2 - 2 lbs cod (or other firm white fish) fillets, cut into 2-inch pieces
1 1/2 cups heavy whipping cream
2 Tbsp parsley

In a large stock pot, heat oil and butter over medium heat.  Add onions and mushrooms and sauté for 5 minutes.  Add the wine, increase the temperature and cook for ten minutes uncovered.

Add the potatoes, carrots, clam juice, chicken stock, can of clams (with juice) and spices (except the parsley).  If the liquid does not cover the potatoes, add enough water to just cover them.  Bring to a simmer and cook for 15 minutes covered.

Just before the 15 minutes is up, heat the cream in a separate pot.  Do not boil the cream.  When the potatoes are cooked, add the fish and the heated cream.  Bring it to a simmer (not a boil) and cook for ten minutes.  If you substitute anything for the heavy cream, you have to watch it carefully to make sure it does not curdle.  The heavy cream is more tolerant of heat, so even if it boils it shouldn't curdle.  But you have to keep an eye on it.

Remove from heat and add the parsley.  Stir and let it sit, covered for 30 minutes.  Remove the bay leaf and serve.  You'll have enough for four people, if not more.  It's very filling and extremely delicious.

Bon appétit!

Sunday, October 23, 2011

Pineapple Upside Down Cake

I get a lot of requests to make this and it's one of the easiest desserts to make.  You only need a few things to make it and they are all pictured here:


This recipe uses a box cake mix.  If you would rather make a cake from scratch, that's fine too but it's not necessary.  I've found the box mixes taste good and very few people I know can tell the difference.  


The box mix uses three eggs, oil and water.  For the remainder of the cake you will need a jar of maraschino cherries, half a box (roughly) of brown sugar, a stick of butter and a can of pineapple rings in pineapple juice.  Do not use pineapple in heavy syrup.  Place the butter in a glass 13" x 9" baking pan.  It is very important to use a glass pan as it will make it easier to see the results when you invert the cake.  Put the pan in the oven while it's heating up and let the butter melt.  Keep an eye on it so the butter doesn't burn.


Drain the pineapple rings into a large measuring cup.  You will be using the juice in the cake mix.  Check the box to see how much water you need and add to the pineapple juice to equal that amount.  In this case I was able to strain a little over one cup and I needed 1 1/3 cups for the cake.  Add enough water to equal 1 1/3 cups.  If you have pineapple juice you can also add that.  If this is a cake for adults, you can also add whiskey or brandy.  Just realize that anything you add other than water will change the flavor of the cake.


 When the butter has melted, distribute the pineapple rings in the bottom of the pan and place a cherry in the center of each.


Then sprinkle the brown sugar over the rings.  This picture shows about half a box of brown sugar.  You can use more but I don't think it's necessary.  I don't have a better measurement of the amount as I don't measure it.  I know it uses about half a box.  Also, note that this is one of the few recipes where you don't have to firmly pack the brown sugar.  Just sprinkle it over the pineapple.


Prepare the cake using the instructions on the box but substitute the pineapple juice for some of the water.  This will give the cake a slight pineapple flavor that will go well with the topping.  Pour the batter into the prepared pan.


Follow the baking times on the box for a 13" x 9" cake pan.  When the cake is done, test it by inserting a toothpick into the center.  If it comes out clean, the cake is done.  Place is on a wire rack and let it sit for 5 minutes.  Then take a rubber spatula and run it around the edge several times, each time going deeper into the dish.  You want to make sure the sides are loose but also get a little along the bottom.  


If you have a platter that is big enough to hold the cake, use that.  If you don't have one, you can also take an old cookie sheet and cover it with aluminum foil.  The one I used is barely big enough for this cake but it works.  Invert the covered cookie sheet (or platter) on top of the cake and hold it tightly by both ends.  You'll probably need to wear oven mitts for this.  Then, as quickly as you can, flip the entire thing over so the cake falls onto the prepared platter.


If you're using a glass pan you'll be able to see immediately if all of the topping comes out in one piece.  If it doesn't, don't sweat it.  Simply use a spoon or spatula to pick up the rings that stuck to the pan and place them back on the cake.  You'll easily see where they go.  Then use the spatula to scrape up any of the sugar that stuck.  It will still be in a liquid state so it scrapes up very easily.  Spread it on the bare spots of the cake and you're done.


Four of the rings on this cake stuck to the pan, as well as some of the topping.  Once you put it back and let the cake cool, no one will know.


Bon appetite!